Beer Boiled Shrimp: Old Bay Perfection
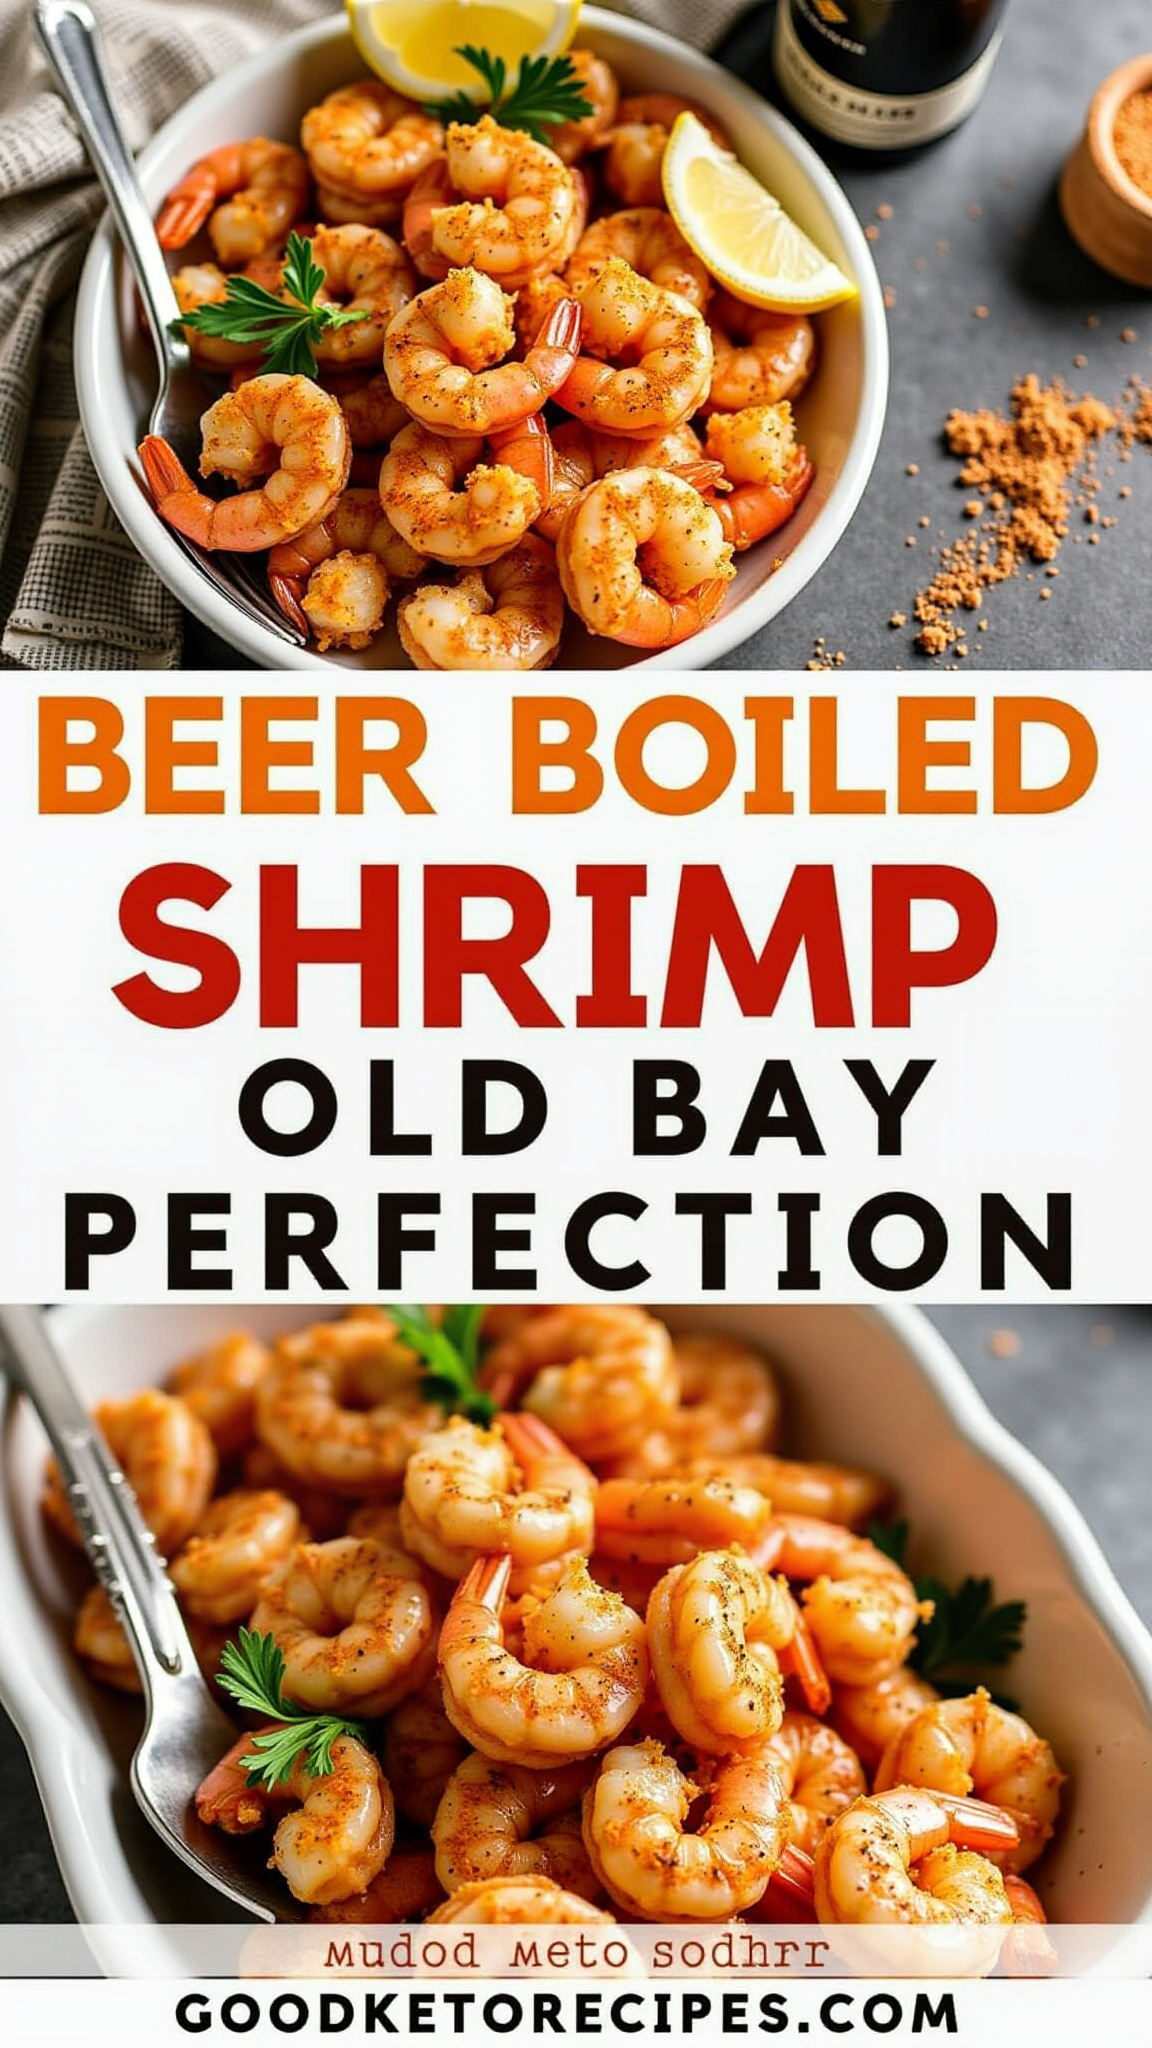 Beer-boiled peel-n-eat shrimp with Old Bay seasoning is a culinary delight that’s perfect for gatherings, tailgates, or a casual weeknight dinner. This recipe infuses the shrimp with a rich, savory flavor that’s hard to resist. This guide provides a detailed explanation of creating perfect beer-boiled shrimp, covering ingredient selection, cooking techniques, and serving suggestions.
Why Beer-Boiled Shrimp?
Boiling shrimp in beer adds depth and complexity to the flavor profile that water alone simply cannot achieve. The beer’s malt and hops contribute subtle notes, while the Old Bay seasoning delivers a classic, zesty kick. The result is a tender, flavorful shrimp that’s incredibly addictive.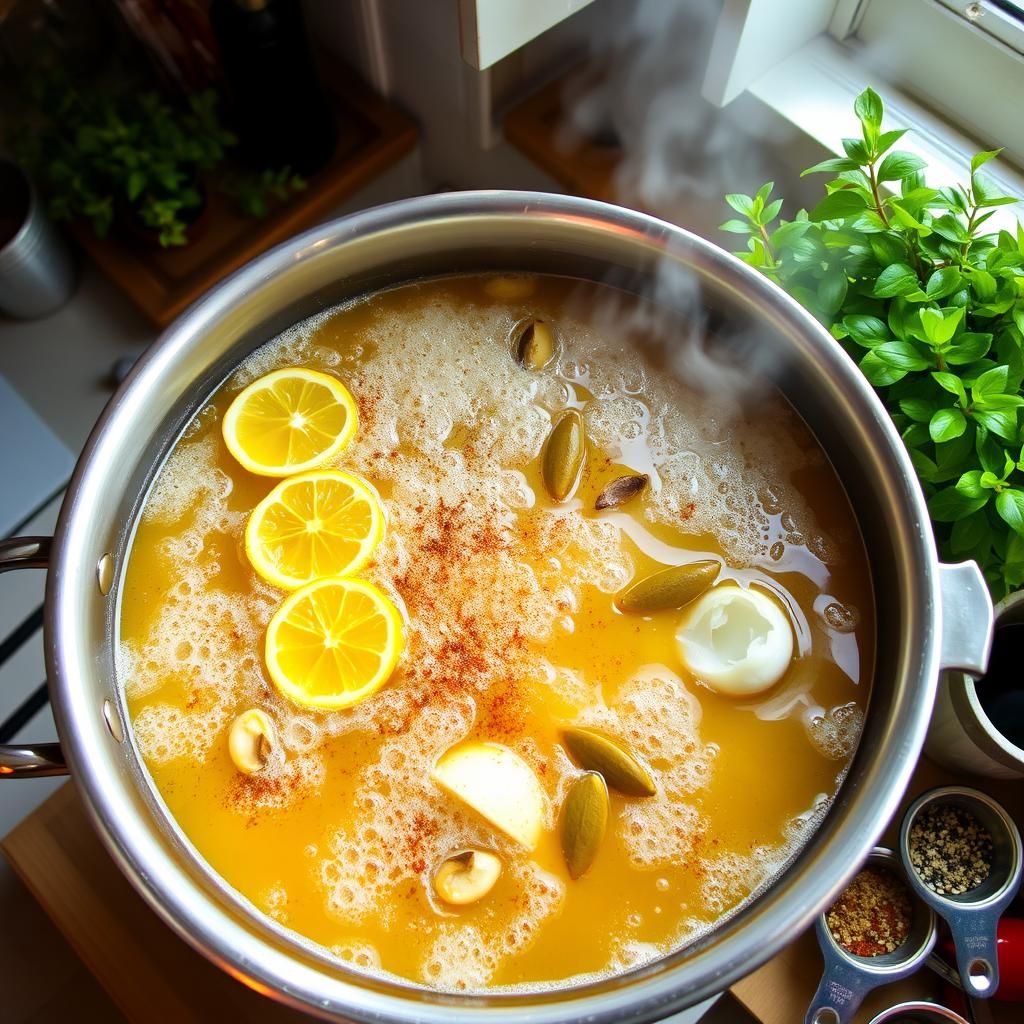
Flavor Enhancement
The beer acts as a natural marinade, permeating the shrimp with its unique taste. Different types of beer can impart different flavor nuances, allowing for experimentation and personalization.
Tender Texture
Boiling in beer helps keep the shrimp moist and tender, preventing them from becoming rubbery. The alcohol content also aids in breaking down proteins, resulting in a more succulent texture.
Aromatic Experience
The aroma of beer and Old Bay simmering together is intoxicating, creating an inviting atmosphere in the kitchen and heightening anticipation for the delicious meal to come.
Ingredients for Beer-Boiled Shrimp
To make the best beer-boiled peel-n-eat shrimp, gather the following ingredients:* **Shrimp:** 2 pounds of large or jumbo shrimp (16-20 count), shell-on, deveined (or devein yourself)* **Beer:** 1 (12-ounce) bottle of light-bodied beer (lager, pilsner, or ale)* **Old Bay Seasoning:** 1/4 cup (adjust to taste)* **Water:** 4 cups* **Lemon:** 1 lemon, halved* **Garlic:** 4 cloves, smashed* **Onion:** 1/2 yellow onion, quartered* **Bay Leaves:** 2 bay leaves* **Optional Additions:** * Hot sauce (to taste) * Fresh parsley, chopped (for garnish) * Celery stalks (2, chopped) * Whole peppercorns (1 teaspoon)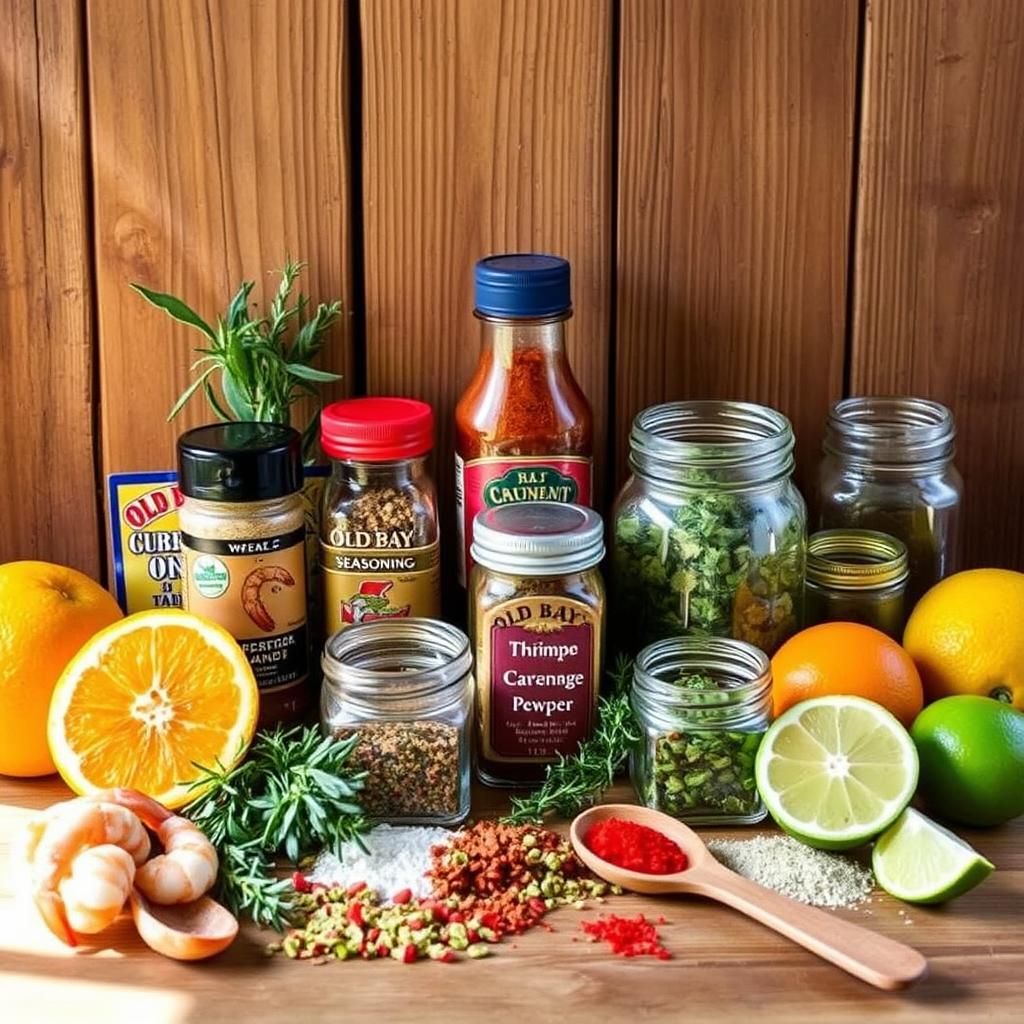
Choosing the Right Shrimp
Selecting high-quality shrimp is crucial for the success of this recipe. Look for shrimp that are firm, plump, and have a fresh, ocean-like smell. Avoid shrimp that smell fishy or ammonia-like, as this indicates spoilage.* **Size:** Large or jumbo shrimp (16-20 count) are ideal for peel-n-eat because they are easy to handle and have a satisfying bite.* **Shell-On:** Cooking shrimp with the shells on helps to retain moisture and flavor.* **Deveined:** While optional, buying deveined shrimp saves time and effort. If not deveined, use a paring knife to make a shallow cut along the back of the shrimp and remove the dark vein.* **Fresh vs. Frozen:** Fresh shrimp is always preferred, but frozen shrimp can be a good alternative if fresh is not available. Thaw frozen shrimp in the refrigerator overnight or in a bowl of cold water for about 30 minutes.
Selecting the Best Beer
The type of beer you choose will influence the final flavor of the shrimp. Opt for light-bodied beers that won’t overpower the other ingredients. * **Lager:** A classic choice, lagers provide a clean, crisp flavor that complements the Old Bay seasoning.* **Pilsner:** Similar to lagers, pilsners offer a slightly more hoppy profile, adding a subtle bitterness to the shrimp.* **Ale:** A lighter ale can also work well, offering a slightly fruity and more complex flavor than lagers or pilsners.* **Avoid:** Avoid dark or overly hoppy beers like stouts, IPAs, or strong ales, as they can be too overpowering and bitter.
The Importance of Old Bay Seasoning
Old Bay seasoning is a staple in seafood dishes, particularly in the Mid-Atlantic region of the United States. Its blend of spices, including celery salt, paprika, and red pepper, adds a distinctive flavor that’s both savory and slightly spicy.* **Authenticity:** Using Old Bay seasoning ensures an authentic and recognizable flavor that’s synonymous with seafood boils.* **Versatility:** The spice blend complements the sweetness of the shrimp and the maltiness of the beer perfectly.* **Adjustability:** The amount of Old Bay seasoning can be adjusted to suit your personal preference for spice levels.
Step-by-Step Guide to Beer-Boiled Shrimp
Follow these steps to create perfectly beer-boiled peel-n-eat shrimp:
Step 1: Prepare the Boiling Liquid
1. In a large pot or Dutch oven, combine the beer, water, Old Bay seasoning, lemon halves, smashed garlic cloves, quartered onion, and bay leaves.2. Bring the mixture to a rolling boil over high heat. 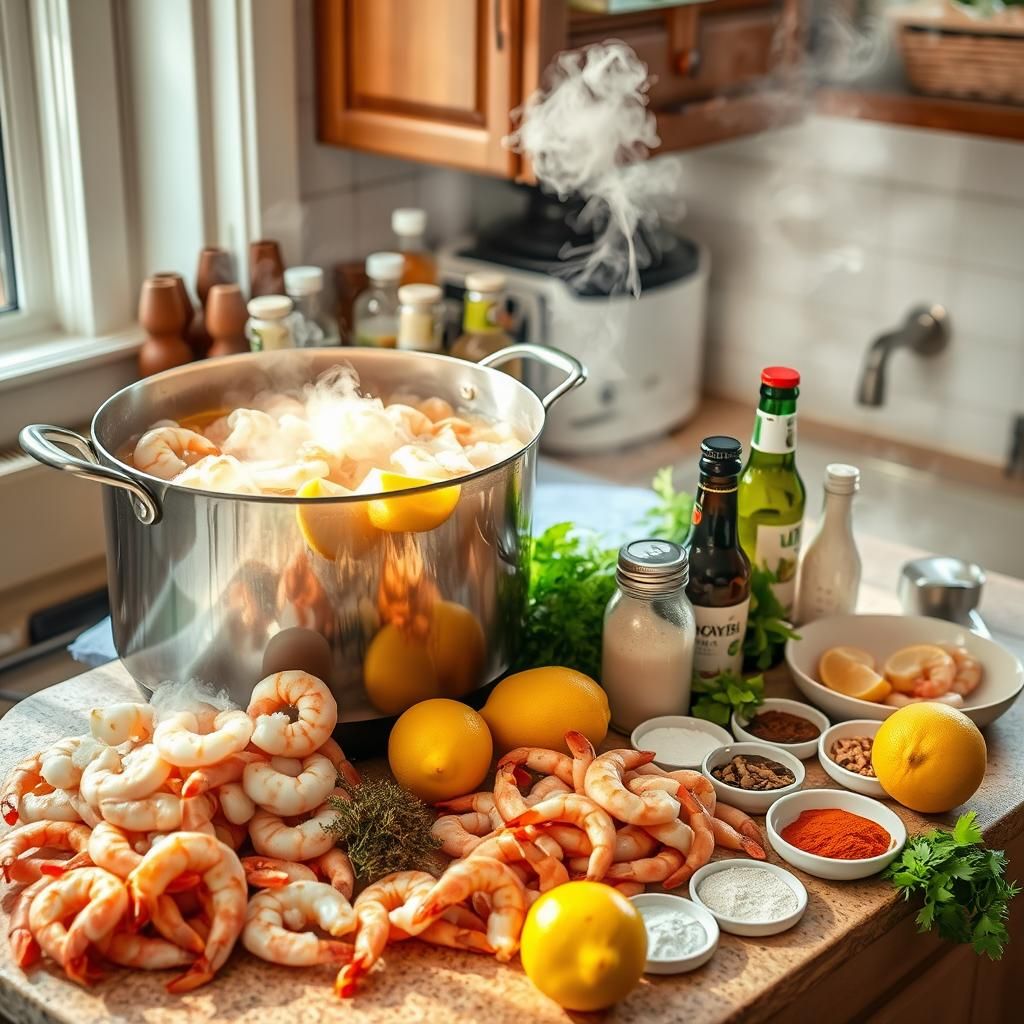
Step 2: Add the Shrimp
1. Once the liquid is boiling, add the shrimp to the pot.2. Ensure that the shrimp are submerged in the liquid. 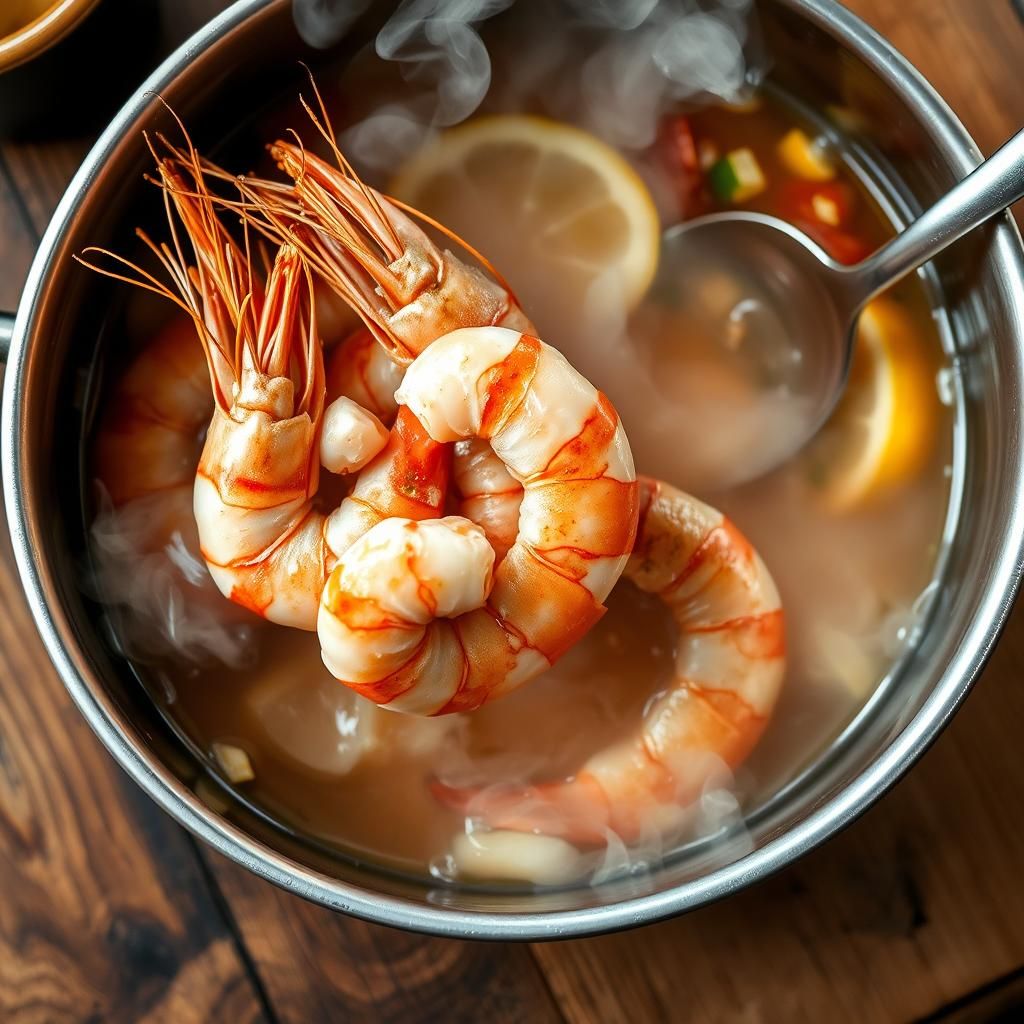
Step 3: Cook the Shrimp
1. Reduce the heat to medium-high and continue to cook the shrimp until they turn pink and opaque. This usually takes 3-5 minutes, depending on the size of the shrimp. Be careful not to overcook the shrimp, as they will become rubbery.2. Stir the shrimp occasionally to ensure even cooking. 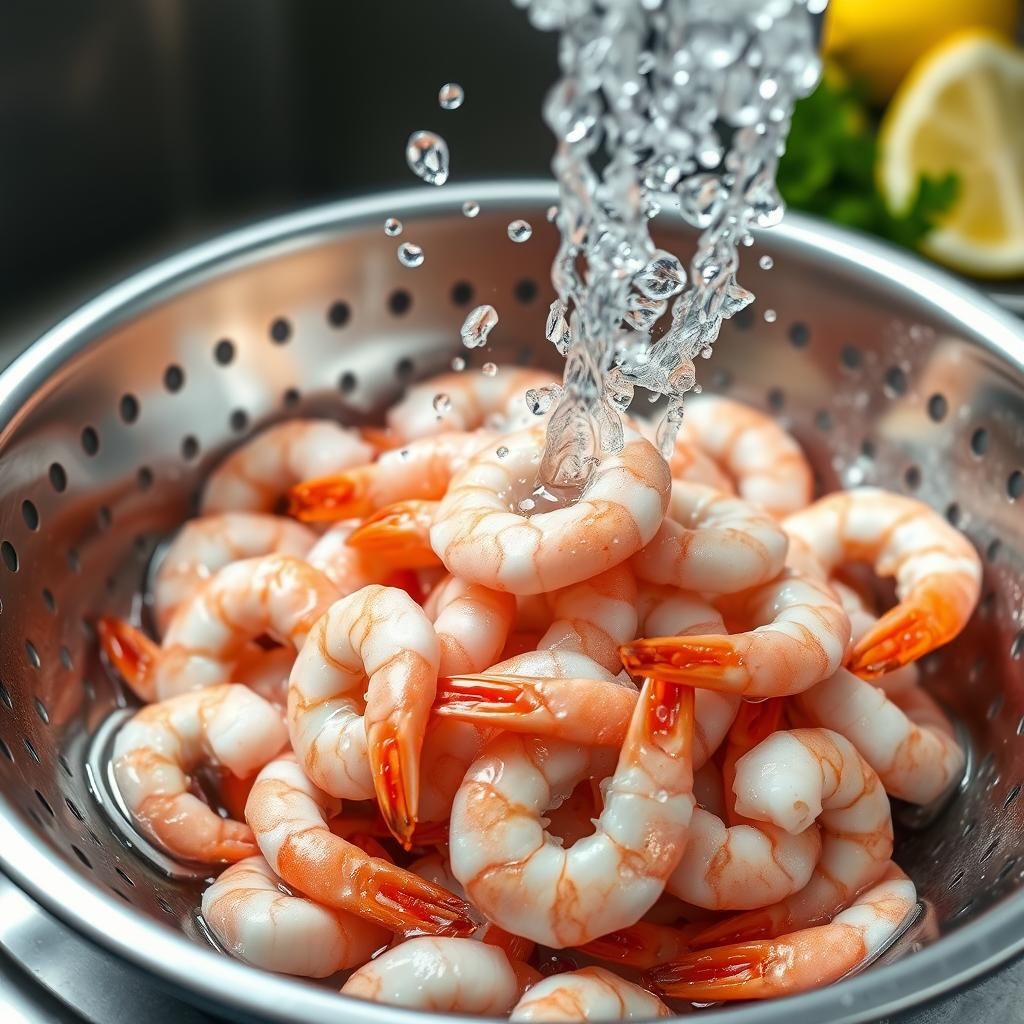
Step 4: Drain and Cool
1. Once the shrimp are cooked, immediately drain them in a colander.2. Rinse the shrimp with cold water to stop the cooking process and cool them down for easier handling. 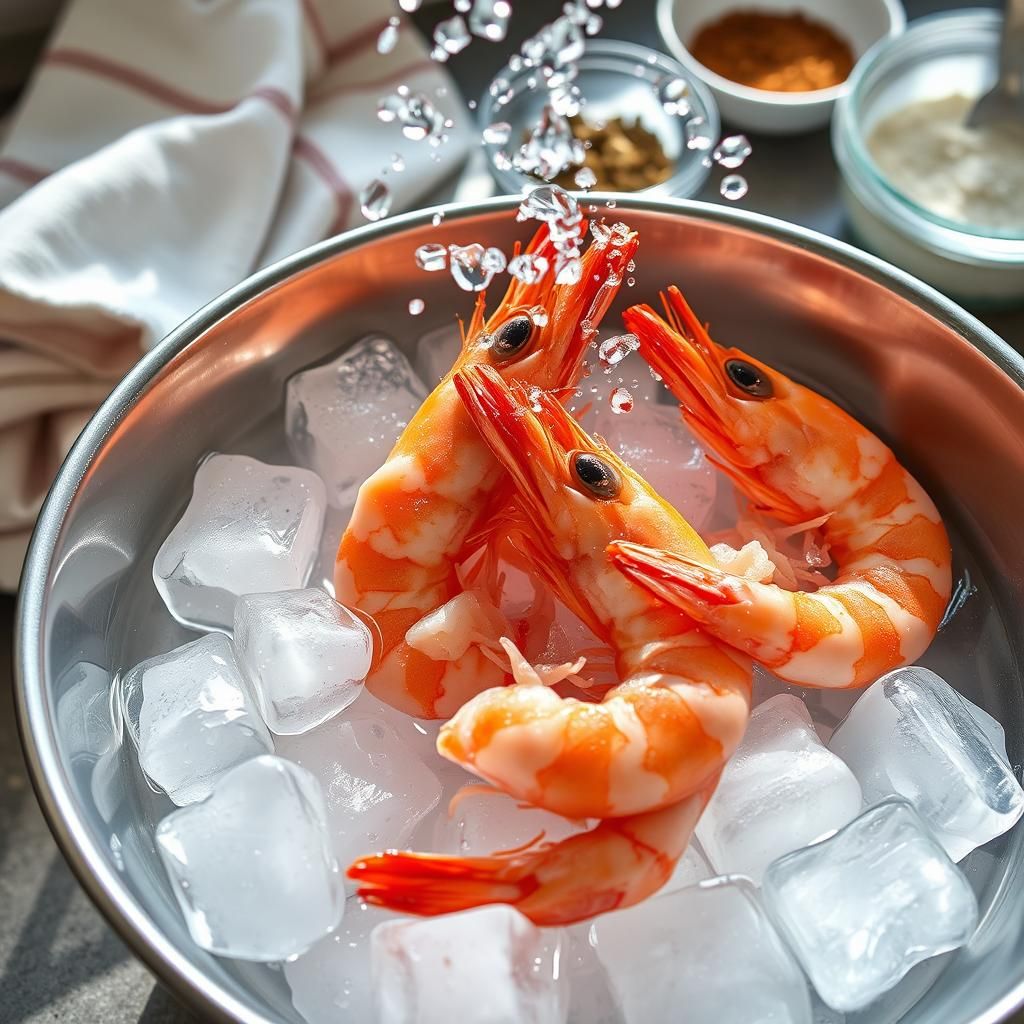
Step 5: Serve and Enjoy
1. Transfer the shrimp to a serving platter or bowl.2. Garnish with fresh parsley, if desired.3. Serve the shrimp warm or chilled with cocktail sauce, tartar sauce, or lemon wedges for dipping.
Tips for Perfect Shrimp
* **Don’t Overcook:** Overcooked shrimp are tough and rubbery. Cook the shrimp just until they turn pink and opaque.* **Use a Large Pot:** A large pot ensures that the shrimp cook evenly and don’t overcrowd.* **Adjust Seasoning:** Taste the boiling liquid before adding the shrimp and adjust the seasoning as needed.* **Ice Bath:** For extra-tender shrimp, prepare an ice bath and plunge the cooked shrimp into the cold water for a few minutes to stop the cooking process.* **Serve Immediately:** Beer-boiled shrimp is best served immediately after cooking, but can be stored in the refrigerator for up to 24 hours.
Variations and Additions
While the basic recipe is delicious as is, there are several ways to customize your beer-boiled shrimp:
Spicy Shrimp
Add hot sauce, cayenne pepper, or red pepper flakes to the boiling liquid for a spicier kick. Adjust the amount of spice to your preference.
Citrus Infusion
Add orange slices or lime wedges to the boiling liquid for a citrusy twist. The citrus will impart a bright, refreshing flavor to the shrimp.
Vegetable Medley
Add vegetables like corn on the cob, potatoes, and sausage to the pot for a complete seafood boil experience. Adjust the cooking time for the vegetables accordingly.
Herbaceous Flavor
Add fresh herbs like thyme, rosemary, or oregano to the boiling liquid for an herbaceous flavor. Tie the herbs together with kitchen twine for easy removal.
Beer Variety
Experiment with different types of beer to find your favorite flavor combination. Amber ales and wheat beers can also work well, depending on your taste preferences.
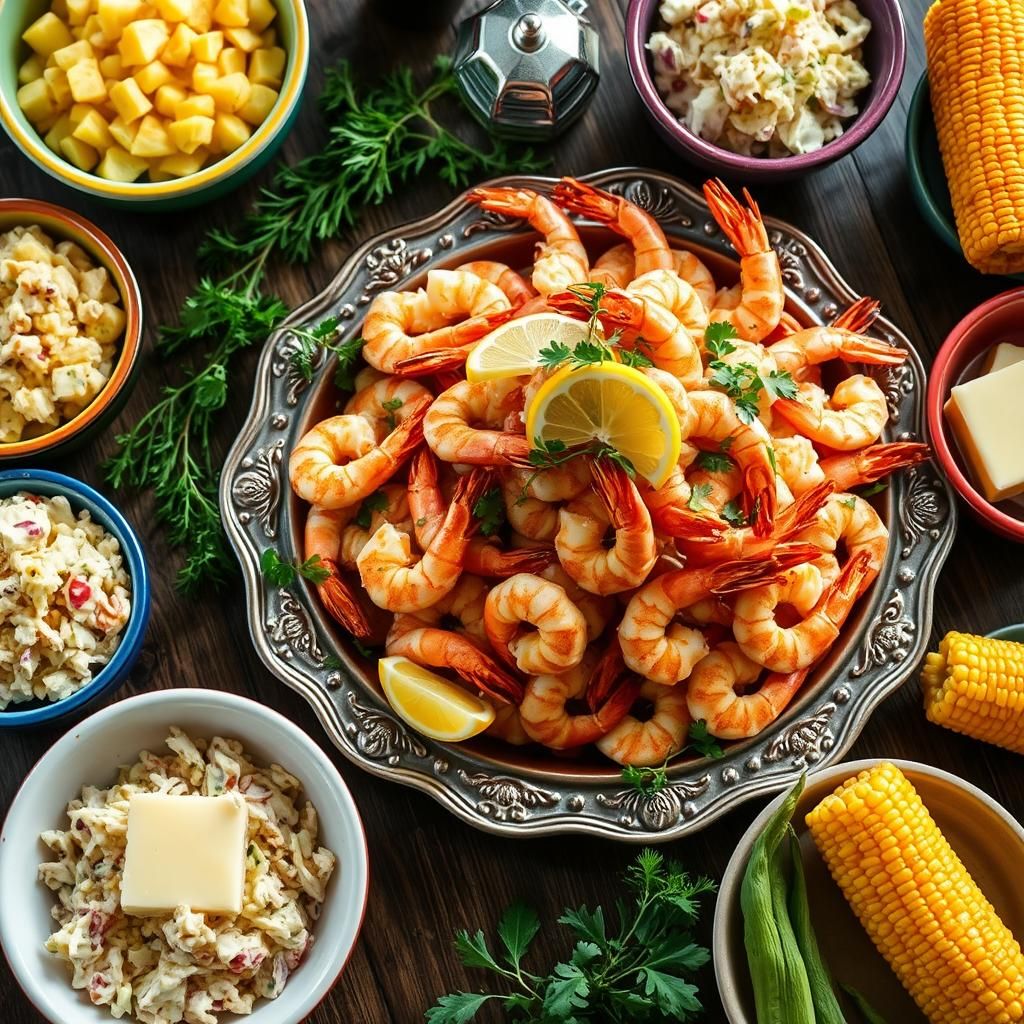
Serving Suggestions
Beer-boiled peel-n-eat shrimp is a versatile dish that can be served in a variety of ways:* **Appetizer:** Serve the shrimp as an appetizer at parties or gatherings. Provide small bowls for the discarded shells and plenty of napkins.* **Main Course:** Serve the shrimp as a main course with sides like coleslaw, potato salad, or corn on the cob.* **Seafood Boil:** Combine the shrimp with other seafood, vegetables, and sausage for a complete seafood boil.* **Tacos or Wraps:** Use the shrimp as a filling for tacos or wraps, adding your favorite toppings like salsa, guacamole, and sour cream.* **Salads:** Add the shrimp to salads for a protein-packed and flavorful addition.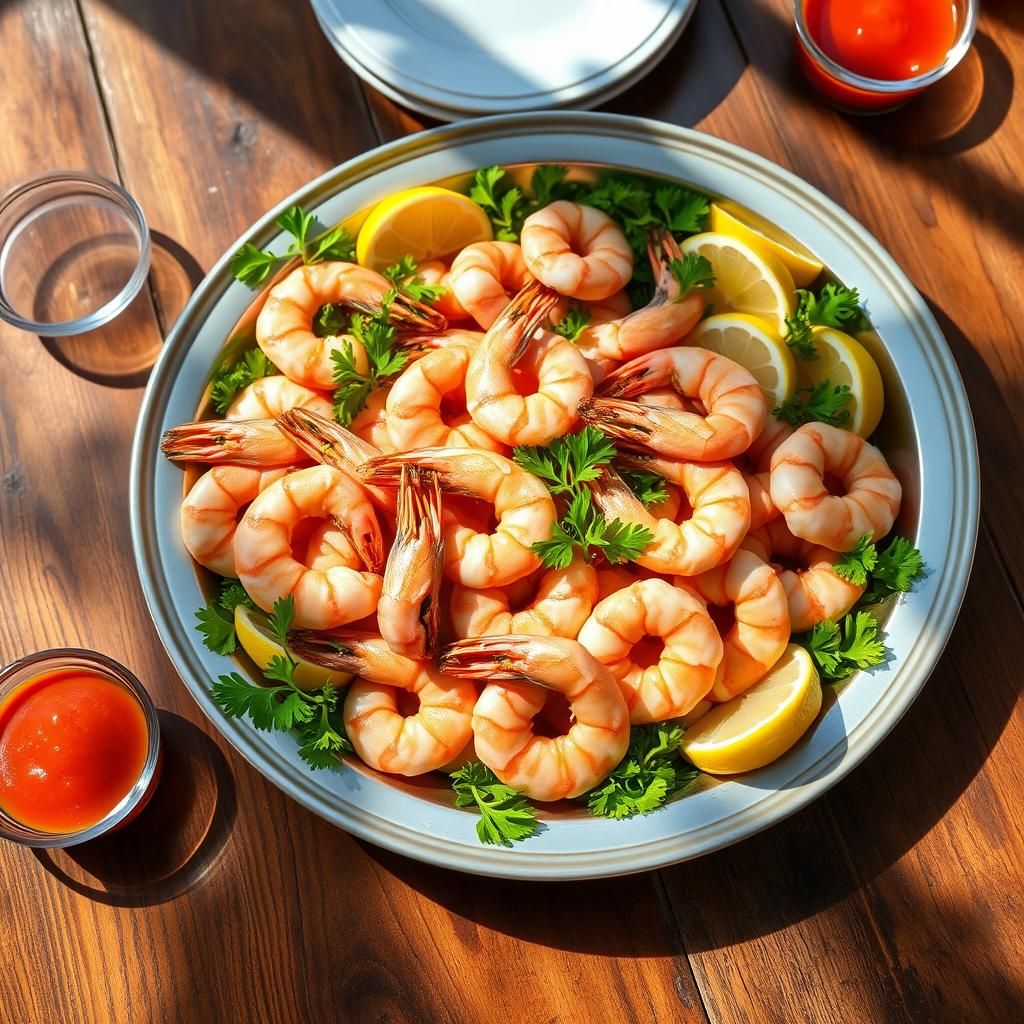
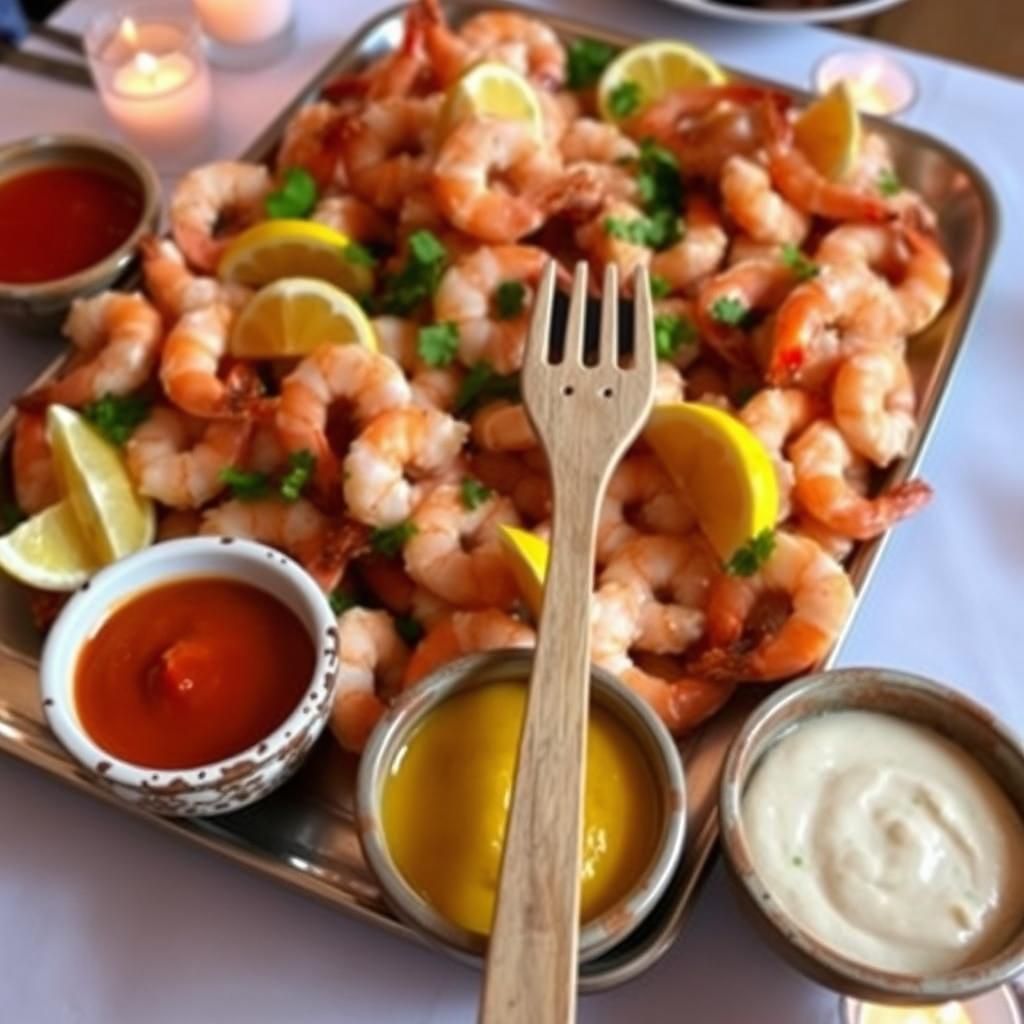
Dipping Sauces
* **Cocktail Sauce:** A classic pairing for shrimp, cocktail sauce provides a tangy and slightly sweet flavor.* **Tartar Sauce:** Creamy and tangy, tartar sauce is another popular choice for dipping shrimp.* **Lemon-Garlic Aioli:** A homemade aioli adds a rich and flavorful touch to the shrimp.* **Spicy Mayo:** Mix mayonnaise with sriracha or other hot sauce for a spicy dipping sauce.* **Melted Butter:** Simple and delicious, melted butter enhances the natural flavor of the shrimp.
Nutritional Information
Beer-boiled peel-n-eat shrimp is a relatively healthy dish, providing a good source of protein and essential nutrients. However, the nutritional content can vary depending on the ingredients used and the serving size.
Shrimp Nutrition
Shrimp is a low-calorie, high-protein food that is rich in nutrients like selenium, vitamin B12, and iron. It also contains omega-3 fatty acids, which are beneficial for heart health.
Old Bay Seasoning
Old Bay seasoning is relatively low in calories and fat, but it does contain sodium. Be mindful of your sodium intake when using Old Bay seasoning.
Beer Calories
The calorie content of beer can vary depending on the type and brand. Light beers generally have fewer calories than regular beers.
Overall Nutrition
A serving of beer-boiled peel-n-eat shrimp is a good source of protein and essential nutrients. However, it’s important to be mindful of the sodium content and to choose healthy sides and dipping sauces.
Storing and Reheating
If you have leftover beer-boiled shrimp, store it in an airtight container in the refrigerator for up to 24 hours.
Reheating Instructions
* **Cold:** The shrimp is delicious cold, straight from the refrigerator.* **Microwave:** Reheat the shrimp in the microwave for 30-60 seconds, or until warmed through. Be careful not to overheat, as this can make the shrimp rubbery.* **Steaming:** Steam the shrimp for a few minutes until warmed through. This method helps to retain moisture and prevent the shrimp from drying out.* **Sautéing:** Sauté the shrimp in a pan with a little butter or oil until warmed through. This method can add a bit of extra flavor and crispness.
Common Mistakes to Avoid
* **Overcooking the Shrimp:** This is the most common mistake. Cook the shrimp just until they turn pink and opaque.* **Using the Wrong Beer:** Avoid dark or overly hoppy beers, as they can overpower the flavor of the shrimp.* **Not Using Enough Seasoning:** Old Bay seasoning is essential for the classic flavor of beer-boiled shrimp. Don’t be afraid to use a generous amount.* **Not Deveining the Shrimp:** While optional, deveining the shrimp improves the texture and appearance.* **Crowding the Pot:** Cook the shrimp in batches if necessary to avoid overcrowding the pot.
Craving More? Check Out This!
Beer-boiled peel-n-eat shrimp with Old Bay seasoning is a simple yet flavorful dish that’s perfect for any occasion. By following this guide, you can create perfectly cooked shrimp that’s bursting with flavor. Experiment with different variations and serving suggestions to find your favorite way to enjoy this classic seafood delight. Enjoy the process and savor the delicious results!
Affiliate Link Disclosure: Some of the links in this post are affiliate links. This means that if you click on the link and make a purchase, I may receive a small commission at no extra cost to you. I only recommend products or services that I personally use and believe will be valuable to my readers.